
How to Build a Layered Video Edit on PC with B-Roll, Voiceover, and Titles
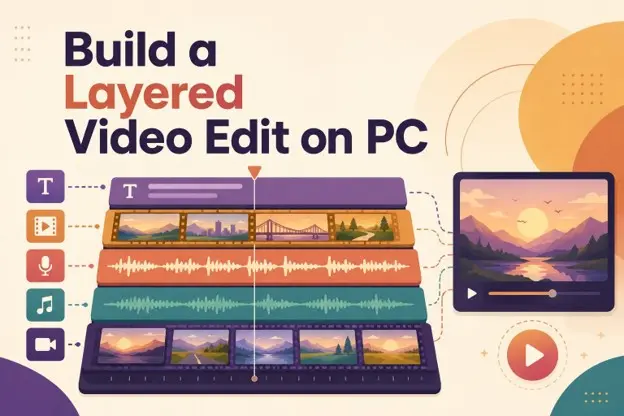
A finished video may look like one complete piece, but it is made from several layers. Footage, B-roll, voiceover, music, and text each sit on separate timeline tracks. This makes every element easier to edit on its own. The guide shows how to build a multi-track video in Filmora for PC, from adding your main footage to exporting the final video.
Part 1. Prepare the Main Elements of the Edit
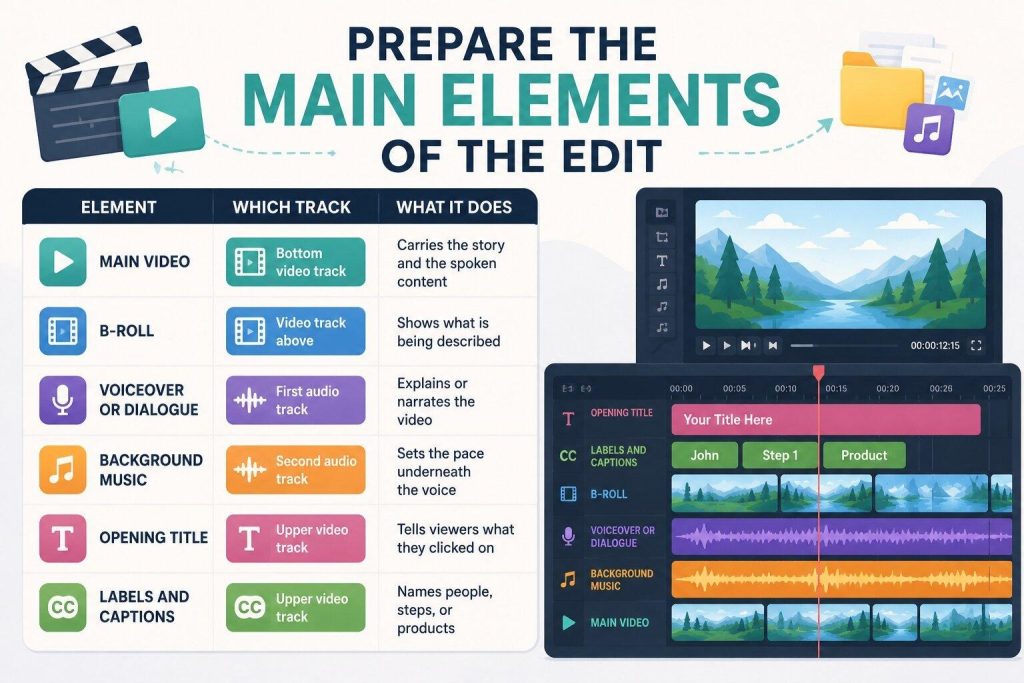
Gathering everything first makes the build far quicker, because you are not stopping to find files halfway through. 6 things go into a typical layered edit, and each has a track waiting for it in your video editor:
| Element | Which Track | What It Does |
|---|---|---|
| Main Video | Bottom video track | Carries the story and the spoken content |
| B-roll | Video track above | Shows what is being described |
| Voiceover or Dialogue | First audio track | Explains or narrates the video |
| Background Music | Second audio track | Sets the pace underneath the voice |
| Opening Title | Upper video track | Tells viewers what they clicked on |
| Labels and Captions | Upper video track | Names people, steps, or products |
Part 2. Place the Main Video on the Timeline
Before starting up, use the Filmora free download to have the editor installed on your PC. Everything else is positioned against the main footage, so it goes down first and gets tidied up before any layer is added. Drag your primary clips onto the bottom video track in the order you want them, then watch the sequence through once without changing anything.
Cut out the parts that will not survive, meaning the false starts, the long pauses, and anything you said twice. Getting this right now saves real work later. Every layer you add afterward is timed against this sequence, so shortening a clip later pulls everything above it out of position.
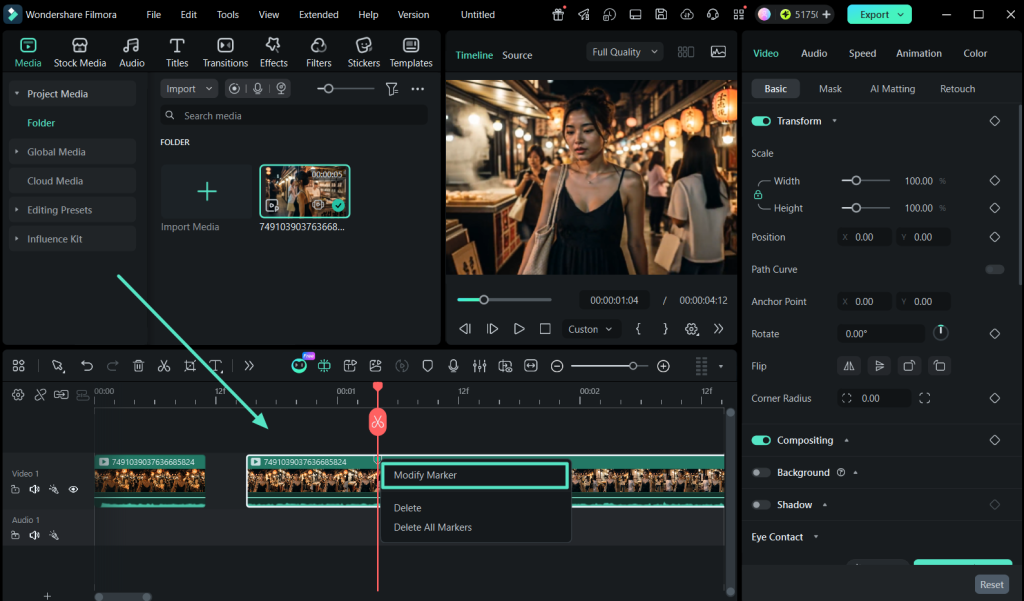
Note: While watching, press M at any point that will need B-roll or a label. That drops a marker on the timeline, and right-clicking it opens “Modify Marker” so you can name it.
Part 3. Add B-Roll Above the Main Footage
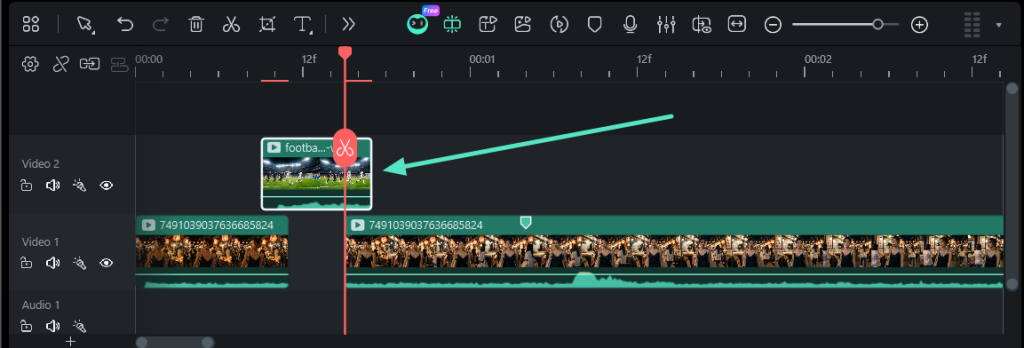
With the base sequence settled in Filmora for Windows, B-roll is the first layer to go on. It belongs on the video track above the main footage, where it hides whatever is underneath for as long as it lasts.
Step 1. Drop It on the Track Above
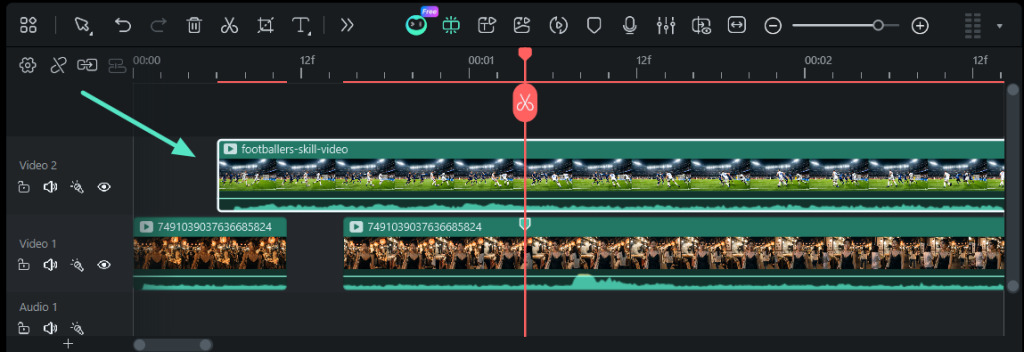
Drag the B-roll clip from the media panel onto the second video track. The audio from your main footage keeps playing underneath, which is usually what you want.
Step 2. Set Where It Starts
Slide the clip left or right so it begins at the moment the narration reaches that point. Any markers you added earlier make useful targets to line it up against.
Step 3. Set How Long It Lasts
Drag the right edge of the clip to control its duration. It should stay up while the point is being made, then get out of the way before the subject moves on.
Note: Each piece of B-roll should be doing one of 3 jobs. It either shows what is being described, hides a cut in the main footage, or gives useful context the narration cannot provide alone.
Part 4. Separate Voiceover and Background Music
Sound follows the same principle as picture, so voice and music each get a track of their own. Keeping them apart is what makes these four controls independent:
- Timing: Slide the music without moving the voice, so a track can start later or end earlier than the narration.
- Volume: Lower the music alone until speech sits clearly on top of it.
- Fades: Fade the music in and out at each end while the voiceover stays at a steady level.
- Muting: Silence one track with its speaker icon to hear the other on its own.
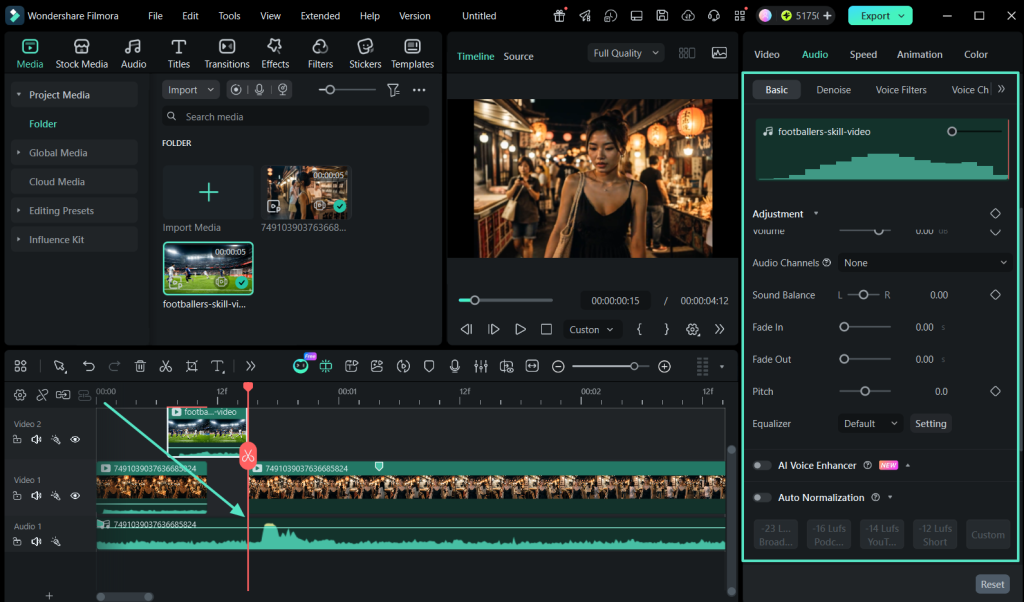
Making the tracks taller helps here, since the sound waves become much easier to read. In Filmora for Windows, that setting sits under Adjust Track Height, reached through the plus icon on the timeline.
Part 5. Add Titles and Supporting Text
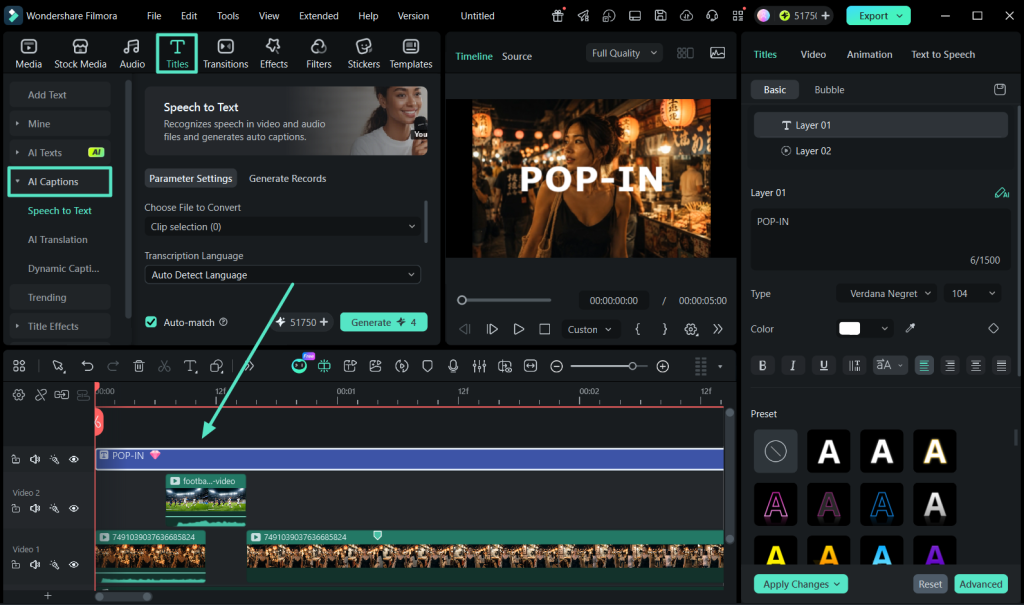
Text goes on last because it has to sit above everything else. Two kinds are worth adding, and the rest is usually clutter.
The Opening Title
This appears in the first few seconds and confirms the viewer is in the right place. Keep it short enough to read at a glance, since nobody pauses a video to finish a title.
Labels During the Video
Short labels name a speaker, number a step, or identify a product while you talk about it. Add one only where it tells the viewer something the audio does not already say clearly.
Part 6. Review the Timing of Every Layer
All the layers now exist, and the remaining work is making sure they agree with each other. Play the video from the start and ask one question of each layer within the video editor:
| Layer | The Timing Question to Ask |
|---|---|
| B-roll | Does it appear while the point is being made, or slightly too late? |
| Titles and Labels | Do they stay on screen long enough to read comfortably? |
| Music | Does it ever rise over the voice instead of sitting under it? |
| Voiceover | Does it line up with what is happening on screen at that moment? |
| Every layer | Does anything start or end in the wrong place? |
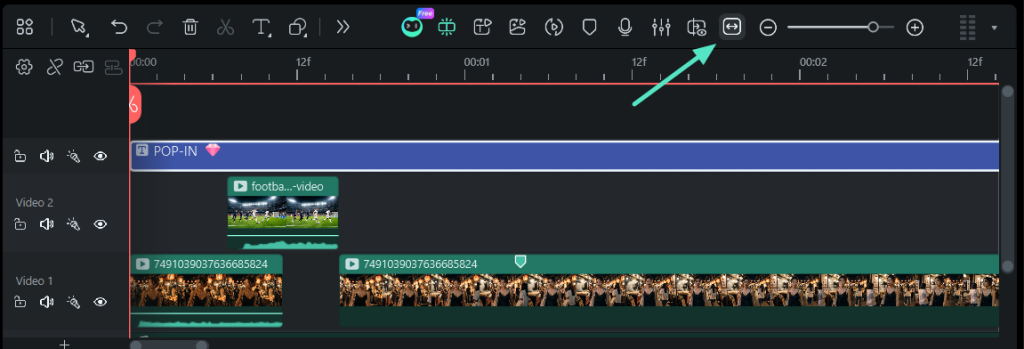
The “Zoom to Fit” button in the top right corner pulls the whole project onto one screen. That view makes it easy to spot a layer running past where it should stop.
Part 7. Export the Completed Video
Once the layers agree, the project becomes a single file. Click “Export” and set these 5 things before rendering:
- Format: MP4 remains the safest choice for almost any platform or device.
- Resolution: Match what you recorded, so 1080p footage exports at 1080p.
- Frame Rate: Use the same rate as your source clips to keep motion looking natural.
- File Name: Give it something you will recognize in a folder 6 months from now.
- Destination: Point it at your exports folder rather than the default location.

Conclusion
Layered editing may look complicated at first, but each track has a specific purpose. Start with the main footage, add each layer as needed, and check the timing before you export. Used that way, Filmora video editing software turns separate files into one video that plays as a single piece. Go through the Filmora trial guide for a basic understanding of using this progressive editor.
