Get to know how to insert a line in word here
We usually work on the creating documents and content files to store data and other valuable information where we got to find some important details of the project we are working on, also can be like making an eBook which if having highly knowledgeable content, so to make sure about how to insert a line in word as required or if the requirement asks for horizontal line to insert in the word file in the desired location can be made by using some tools and features that are available in the menu. To make horizontal line in word file we do not need to install any software or go with other online services, this all about having some good knowledge on dealing with word file will make sure to deal with making on how to insert a line in word. This is being too made with excellent tools in the menu of word available to deal with it.
We got some ways of making the changes to the word by managing its tools and utilizing the given features in the word will be more enough to make required changes like adding any images we will be going to the inset available in the menu bar of word to make the image get inserted into the word file in the specified location and the same with adding a box to type texts can also be made with its respective features and tools that are available here in the word, so we got to go with a clear knowledge to deal with it, so we made some of the analysis and browsed out for these things like how to insert a line in word in the internet and I’ve found that this can be made so simple by using some of the available tools on the menu.
Read Also: IoT Evolution: Disruptive Trends
Autocorrect:
Autocorrect is an option that is found in the word to make the necessary changes about how to insert a line in word, so this can be an excellent way to make all those changes here by adding the required things to edit in its options, and after making all of them as required we can simply hit the apply to adopt the changes made and apply it to the word.
Steps to horizontal line:
So know we got all the systematic process about how to insert a line in word, this can be made so simple here by making then available in the detailed procedure below.
Step 1: Initially we just need to click on the file that is available on the menu bar of word document, then, find the option by clicking it, and go with clicking proofing on left.
Step 2: Then on the right side find the Autocorrect and by clicking on it we can find the options with AutoFormat as you type titled tab and then we can find the dialogue, now by check the borders in the apply section by enabling the checkbox with borderlines and hit apply.
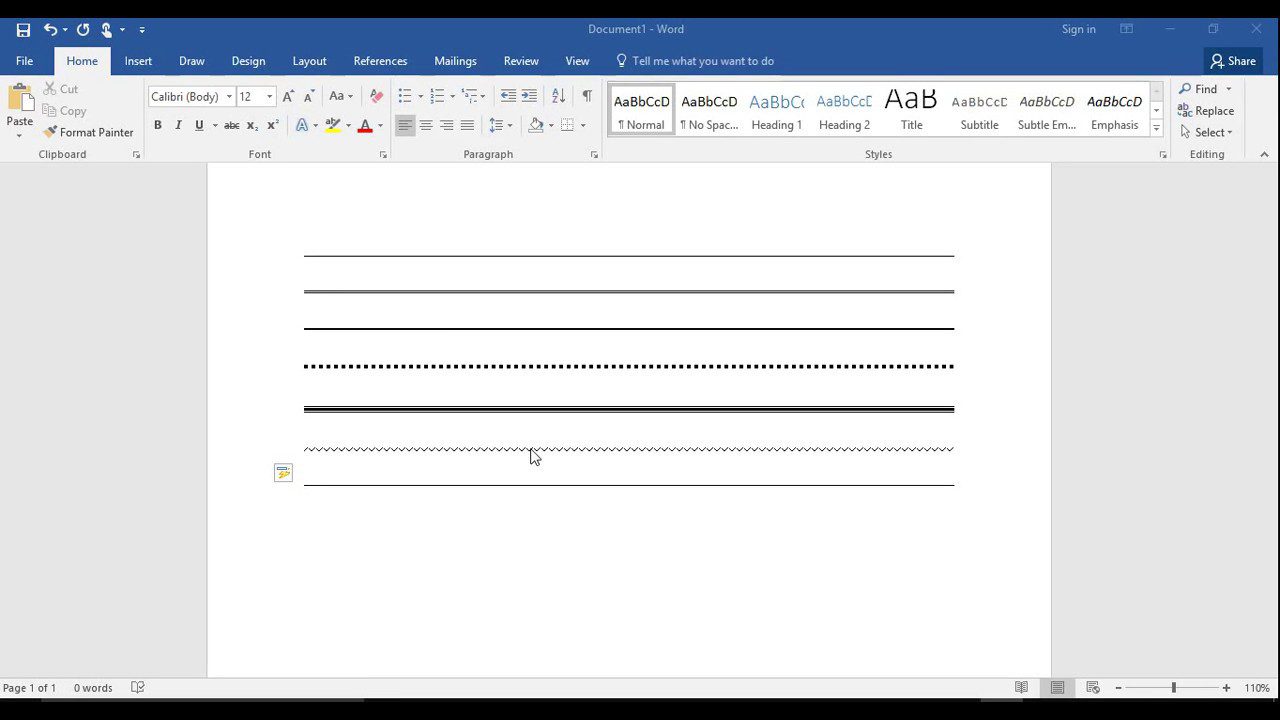
Step 3: Now we just need to place the cursor at the location where we need to launch a horizontal line, and by clicking on the home tab available just make sure to hit the arrow on the dropdown option that is available here in the group of the paragraph, there is the list we can simply select the horizontal line.