How to Get a Clean Makeup Product Photo
In the world of cosmetics, how something looks is one of the most important ways to attract customers and build a strong brand image. When showing off makeup products for work, it’s important to have pictures that are clean and professional. In this piece, we’ll look at some useful tools and tricks that will help you take pictures of makeup products that are clean, interesting, and good for business.
What is a Makeup Product Photo
A makeup product shot is a picture of a specific makeup item, like lipstick, an eyeshadow palette, foundation, or mascara. Beauty brands, makeup artists, and influencers commonly use these pictures for marketing and promotional purposes.
This kind of image is meant to show off the product’s features, colors, and textures in a good way. It usually has a close-up shot of the product itself, and the background is usually clean and simple to draw attention to the beauty item. The photo’s lighting and composition are carefully chosen to make the object look better and show how it works.
Best Tool to Make Your Makeup Product Photo Clean
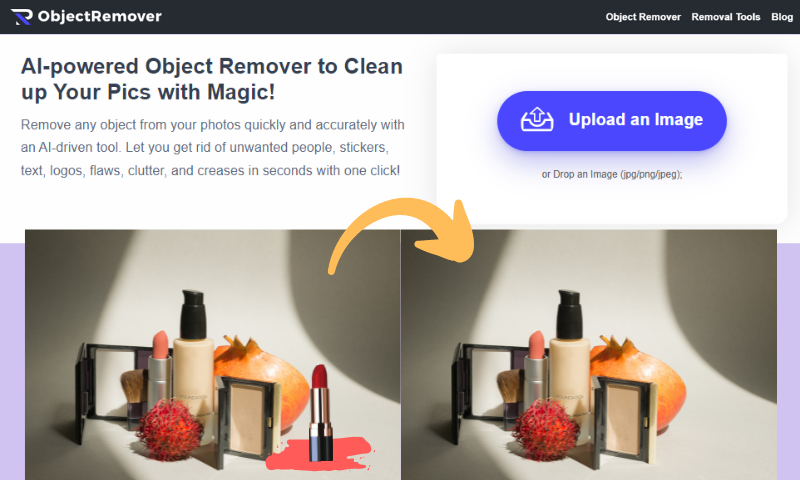
Object Remover – Remove Unwanted Object
Object Remover is one of the best tools for making shots of makeup products that look clean and professional. It offers many useful tools to help you erase unwanted things from a photo using artificial intelligence. You can use it to remove people, text, logo, watermarks, emoji, clutter, animal, building, etc. The simple interface and straightforward workflow make it easy to improve and enhance the quality of any photos, such as landscape pictures, castle building, festival event shots, makeup products, and animal portraits. Even a photo editing beginner can use it to clean up their photos effortlessly.
Make Your Makeup Product Photo Clean (Step by Step)
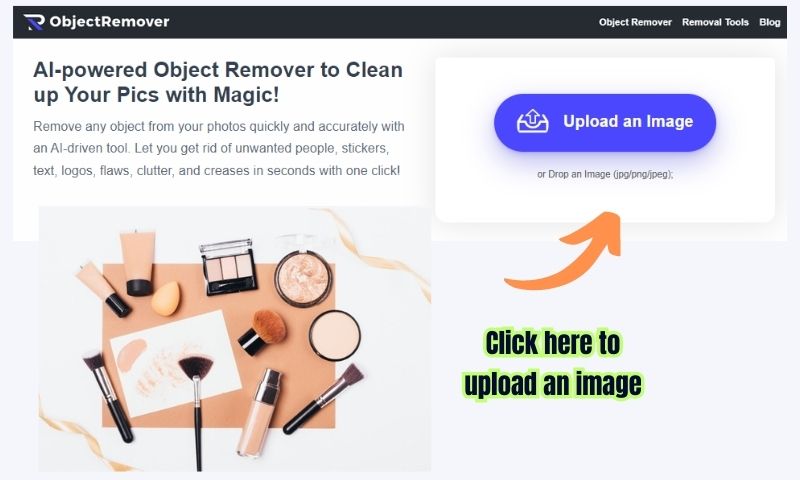
Step 1: Upload Your Makeup Product Photo
Upload the image you want to process with this AI Object Remover. You can upload both jpg and png files. Make sure that your image has good quality so that Object Remover can easily detect the objects in the image.
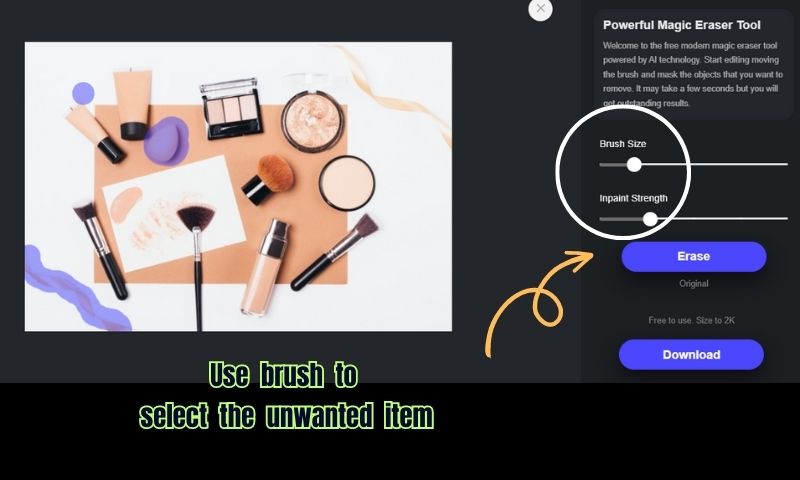
Step 2: Select Unwanted Items in Your Photo
Use the tool to draw the area of the picture that you want to delete. You can correctly choose the object by changing the brush’s and ink’s size and strength. If you want to cancel the decision, just click the “Reset” button. This will put the settings for erasing back to how they were before.
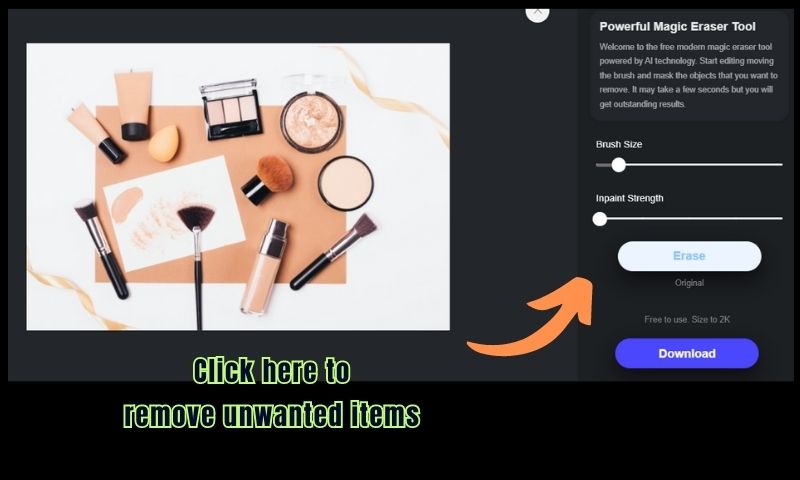
Step 3: Remove Unwanted Items with One Click
Click the “Erase” button when you’re ready to remove unwanted objects from your makeup product picture. This process may take a few seconds or a few minutes, based on the size of the image you uploaded.
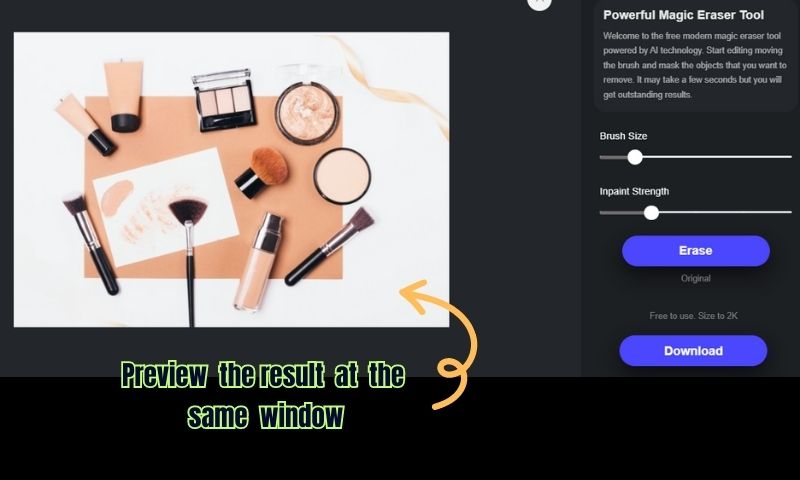
Step 4: Enjoy a Clean Makeup Product Photo
Once the item is removed successfully, You can look at a preview of the picture to see if you’re happy with how it turned out. If you like what you see, click “Download” to save the picture to your computer.
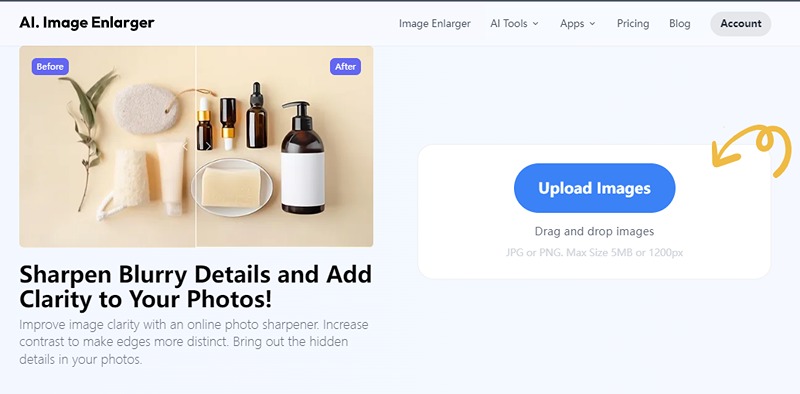
Imglarger AI Sharpener – Sharpen Details
Imglarger AI Sharpener is one of the most important features of imglarger. It excels in making blurry photos clear and enhancing the details in a photo to highlight your product. If you want to Improve image clarity with an online photo sharpener, choose this image Imglarger AI Sharpener. It will increase contrast to make edges more distinct. bringing out the hidden details in your photos.
Sharpen details to let your makeup product photo stand out
To sharpen details in your makeup product photo using the “Imglarger AI Sharpener,” you can follow these steps:
Step 1: Go to AI Image Sharpener
Open a web browser and visit imglarger website. Navigate to the feature of the AI Image Sharpener. Once you come to the AI sharpener workspace, you can upload images for sharpening.
Step 2: Upload the Makeup Product Photo
Click the “Upload images” button to upload your makeup product photo. This site allows you to upload jpg or png files up to 5 MB or 1200 px.
Step 3: Start Image Sharpening Process
Click the Start button. Imglarger will start sharpening your photo. The job will be done automatically and quickly. Within a few seconds, you can get your image sharpened. All the details in the photo are clear to view.
Step 4: Preview and Save the Sharpened Image
After the sharpening is done, imglarger offers you a preview of the sharpened makeup product. Please take the time to carefully look over the results to figure out if they meet your needs. If happy with the sharpened picture, save it to your computer.
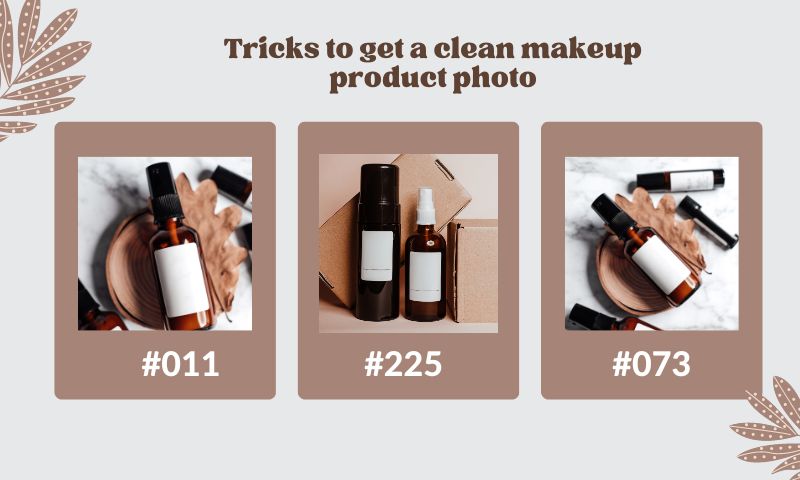
Tricks to get a clean makeup product photo
#1 Lighting is Key
Good lighting is the foundation of any good product photograph. When taking pictures of makeup items, use natural light or a softbox or diffuser to make the light soft and even. Unwanted shadows can be cast by harsh or uneven lighting, making it hard to see the true colors and details of the object. Try out different angles and intensities of light to get the look you want.
#2 Use a Clean Background
Choose a clean, uncluttered background to keep the attention on the beauty product. For a professional and quiet setting, a solid-colored backdrop or white background with no breaks works well. This makes the object stand out and makes it the focus of the picture.
#3 Set Up a Product Display
Set up the makeup for the picture in a neat and exciting way. Think about using props that go well with the product, like brushes, applicators, or other related items. This can give the picture more visual interest and context, making it more appealing to potential buyers. But don’t put too much in the frame or it will take away from the main product.

#4 Pay attention to product details
To showcase the intricate details and quality of the makeup product, ensure it is sharply focused in the picture. Use a stand or a steady surface to keep your camera from blurring or shaking. Also, zoom in or get close to the object to get close-up details, bright colors, and any special features that make it stand out.
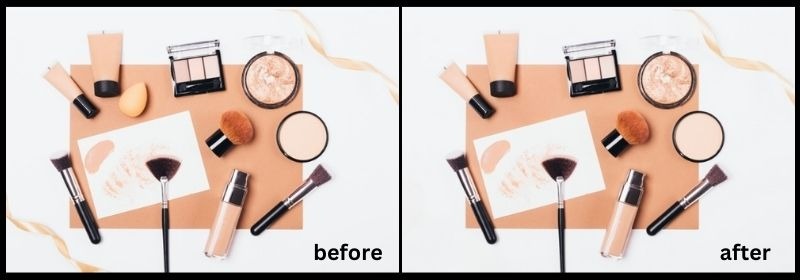
#5 Enhance with Editing
After taking pictures of the makeup products, you can use photo editing tools to make the pictures even better. Make changes to the brightness, contrast, and color balance to show the natural colors of the product. Using editing tools, get rid of any small flaws or dust particles so that the product looks perfect and appealing.
#6 Find the Best Angles and Perspectives
Try out different angles and views to find the most flattering and aesthetically pleasing way to picture your makeup products. Take pictures from different angles, like from above, at eye level, or at a slight angle, to show off different parts of the object and make your product portfolio more interesting.
Conclusion:
Getting clean makeup product pictures for business use requires attention to detail, proper lighting, and thoughtful composition. By utilizing the tips mentioned above, you can capture high-quality images that effectively showcase the beauty and allure of your makeup products. Remember to maintain consistency in your branding and use photo editing software to refine further and enhance your images. With captivating product pictures, you can effectively attract customers, establish a strong brand identity, and elevate your business in the competitive world of cosmetics.